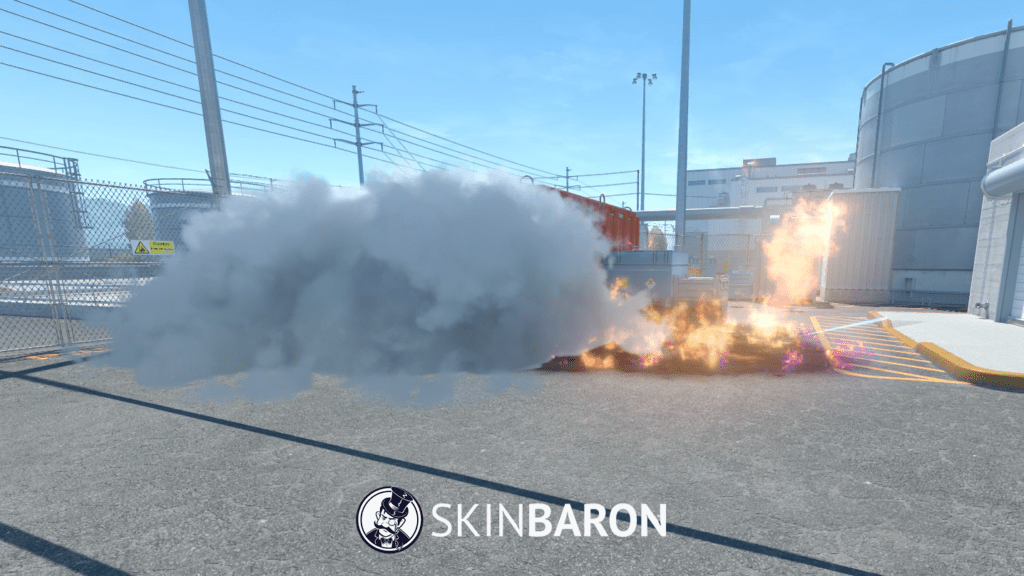
In the fast-paced world of Counter-Strike, every advantage counts. One way to gain an edge over your opponents is by mastering jump-throw binds, a technique that ensures consistent and accurate grenade throws. In this comprehensive guide, we’ll walk you through the process of creating a jumpthrow bind, elevating your gameplay to new heights.
Step 1: Understanding Jump-throw Binds
Jumpthrow binds automate the process of executing a perfect jumpthrow, allowing you to consistently deploy grenades with precision. By combining the jump and throw commands into a single key press, you eliminate the margin for error, giving you a tactical advantage in critical moments.
Step 2: Locate your config folder
To start creating your jumpthrow bind, you’ll need to locate the folder on your PC which contains your game files. The folder can usually be found here:
\steamapps\common\Counter-Strike Global Offensive\game\csgo\cfg\
In this folder simply copy and paste one of the existing config files and rename it to jumpthrow. And yes, even though you are saving the condig in the CS:GO folder it will function in Counter-Strike 2 since Valve has not updated the files path for the new game.

Step 3: Edit the new file
The next step on the way to your new Jump-Throw-Bind is to open the newly create file and delete the existing text in it. Copy the text below and paste it into your jumpthrow file and save it afterwards.
+jump
-attack
-attack2
-jump
Step 4: Bind a key to your Jump-Throw
You know have a working Jump-Throw-Config, but you still need to bind it to key in order to easily use during your games. For this next step you can simply the command in below in your ingame developer console:
bind T “exec jumpthrow”
This will now make “T” your Jump-Throw-Bind. Whenever you press the key you will throw a perfect grenade in Counter-Strike. Obviously you can also use different keys. If you have trouble opening up your developer console, then check your settings if it is enabled as well as your existing keyboard binds to see which key you have to press in order to open the console.

Check out our SmokeBaron App and learn the various different jump-throw grenades.
Step 5: Testing Your Bind
After creating the jumpthrow bind, it’s crucial to test it in a controlled environment. Head to an empty server or use console commands to replenish your grenades, and practice the jumpthrow to ensure consistency. You can also check out our SmokeBaron App to check some greandes that require and Jump-Throw-Bind.
Step 6: Implementing in your Gameplay
Once you’ve mastered the jumpthrow bind in practice, start incorporating it into your gameplay. Whether you’re executing precise smokes or strategic flashes, your newfound ability to consistently deploy grenades will undoubtedly give you a competitive advantage.
Conclusion: Jump-Throw Binds in Counter-Strike
In the ever-evolving world of Counter-Strike, honing your skills is essential for staying ahead of the competition. By creating and mastering a jumpthrow bind, you’ll gain a valuable tool in your arsenal, enabling you to execute precise grenade throws with ease. Elevate your gameplay and outmaneuver your opponents by incorporating this powerful technique into your strategy. Happy gaming!


